Finding Sensitive Data in Azure Cloud Storage: Why Checking Files One by One Just Doesn’t Work
Finding Sensitive Data in Azure Cloud Storage: Why Checking Files One by One Just Doesn’t Work
Finding Sensitive Data in Azure Cloud Storage: Why Checking Files One by One Just Doesn’t Work
Finding Sensitive Data in Azure Cloud Storage: Why Checking Files One by One Just Doesn’t Work
Finding Sensitive Data in Azure Cloud Storage: Why Checking Files One by One Just Doesn’t Work
Blog Summary
In many organizations, cloud storage quietly fills up with reports, logs, exports, backups, and all kinds of files. Some of those files may contain PII, confidential records, or other sensitive information.
Blog Details
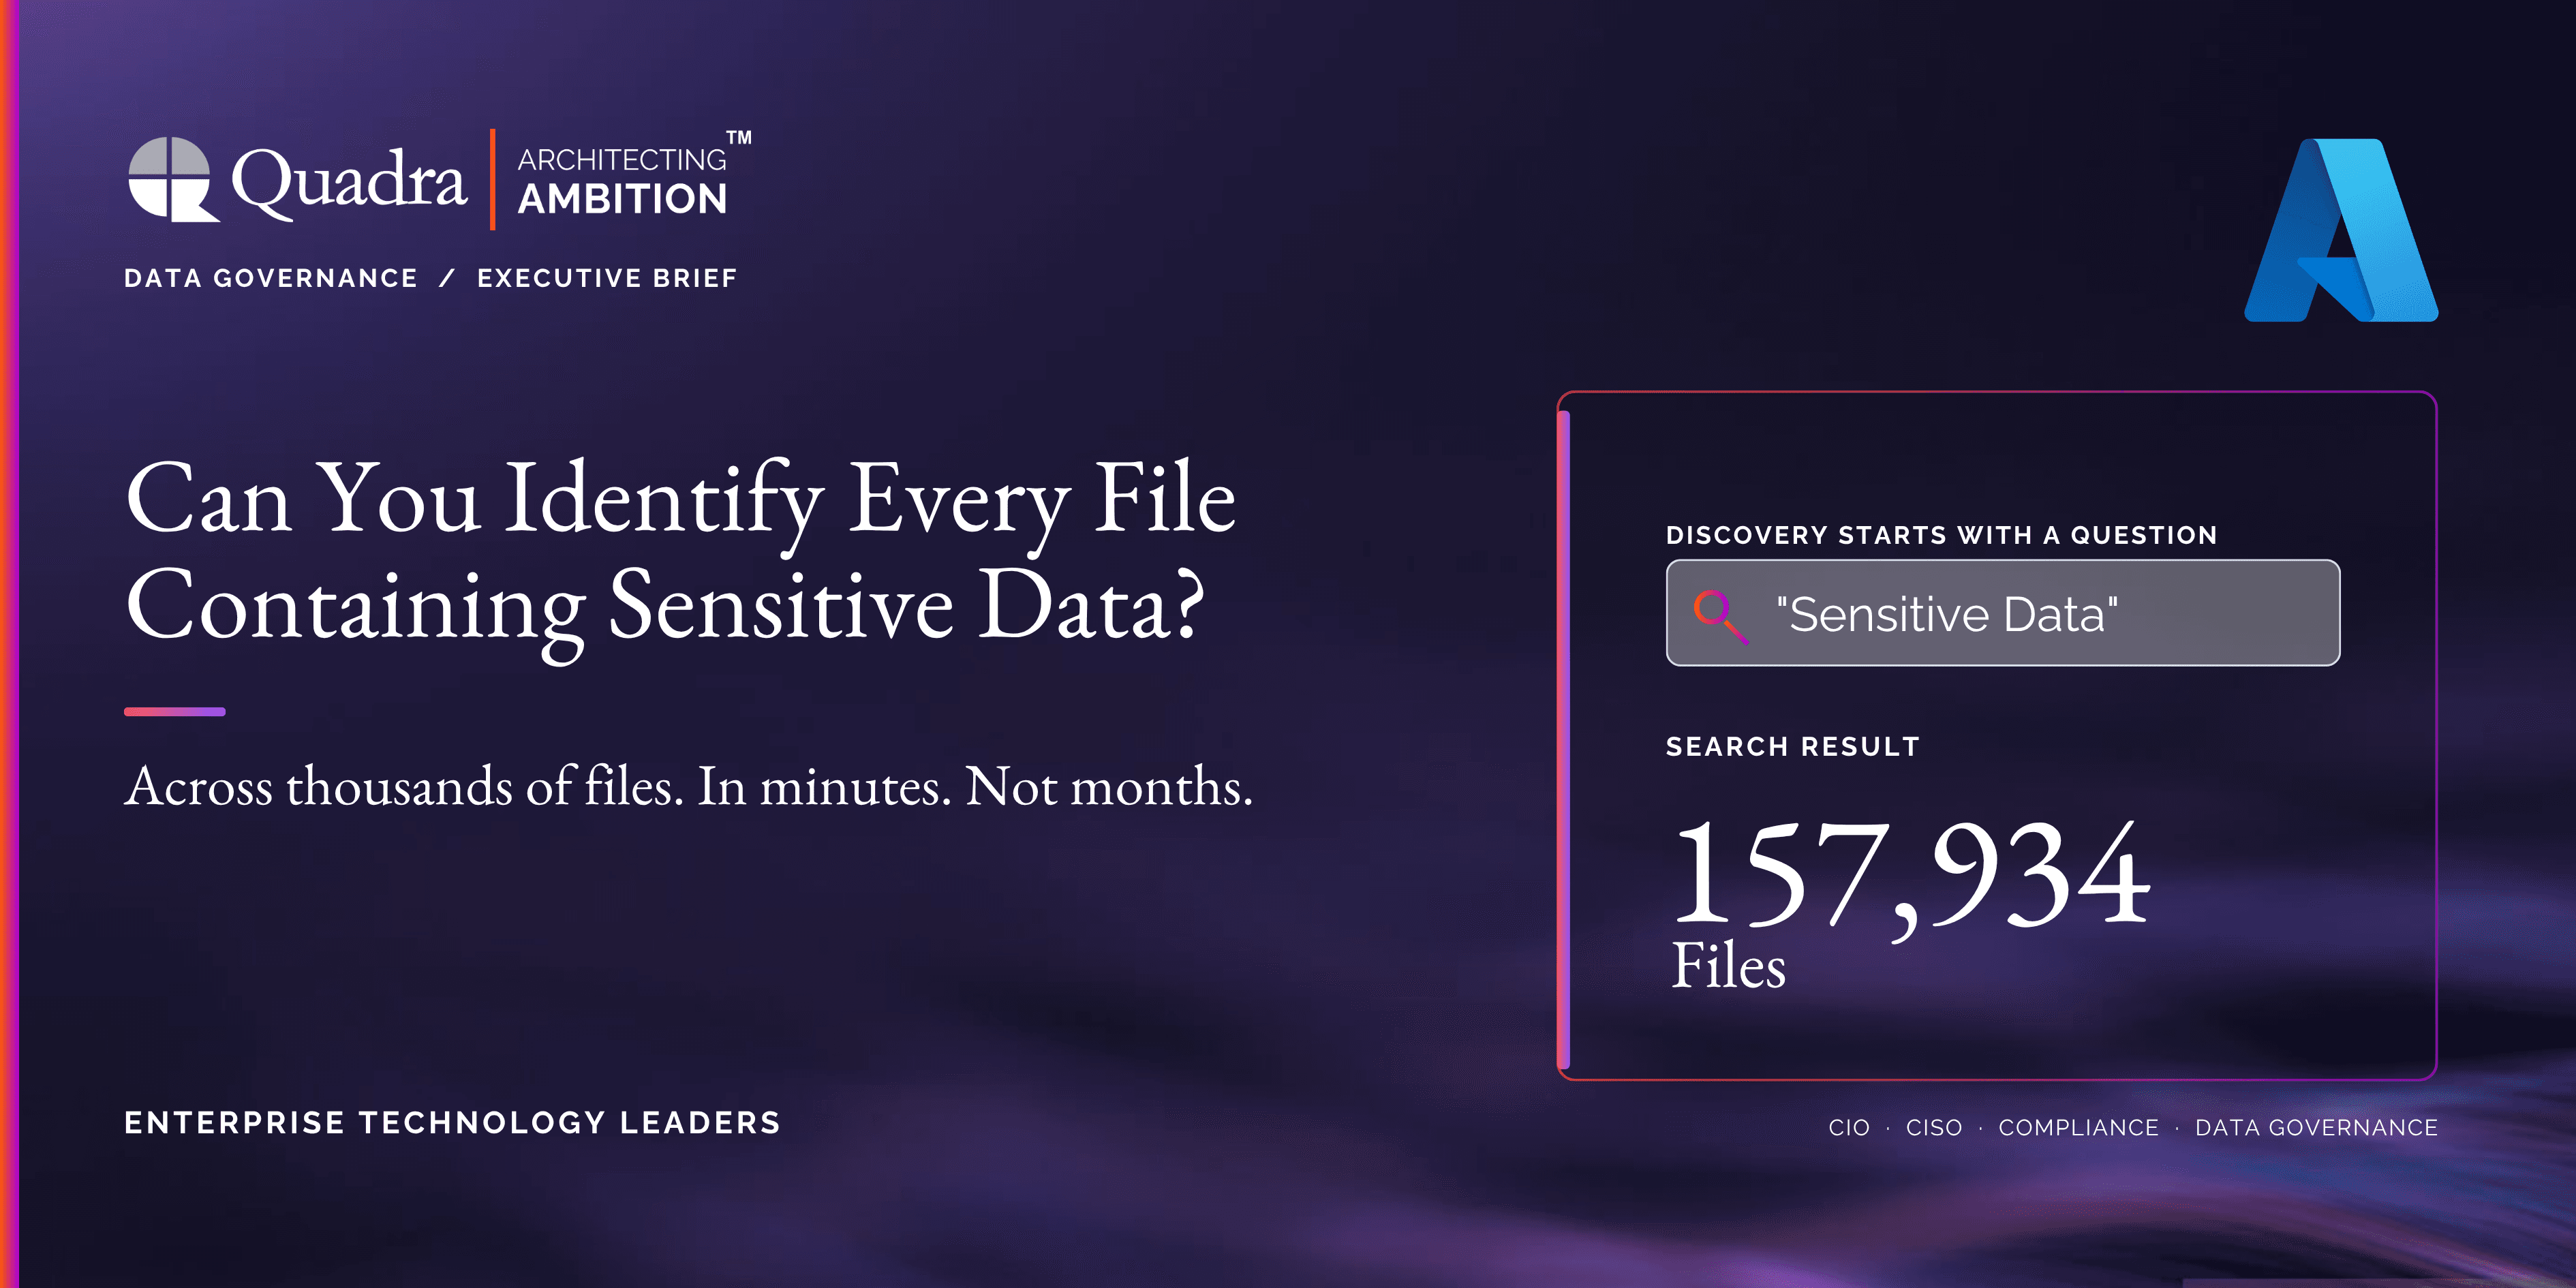
Have you ever stopped to think about what is sitting inside your Azure Cloud Storage?
In many organizations, cloud storage quietly fills up with reports, logs, exports, backups, and all kinds of files. Some of those files may contain PII, confidential records, or other sensitive information.
Now imagine trying to open and review thousands—or even 1 lakh files—just to find out which ones contain sensitive data. That is not just time-consuming; it is almost impossible to do reliably. This is where a smarter way to discover and protect sensitive data becomes important.
The Problem with Checking Files Manually
Cloud storage grows faster than most teams realize. Every day, people upload documents, logs, images, backups, and application files. Before long, the storage account becomes a huge collection of data that keeps changing.
If you only have a handful of files, manual review might be fine. But when there are thousands of files, it quickly becomes slow, inconsistent, and easy to get wrong. One missed file with personal information, financial data, credentials, or confidential business records can create a real security or compliance risk.
That is why automated sensitive data discovery matters. Instead of checking each file one by one, security teams can use cloud security tools to scan storage accounts, detect sensitive information, and focus first on the areas that need attention.
The Solution: Microsoft Purview Data Map and Unified Catalog
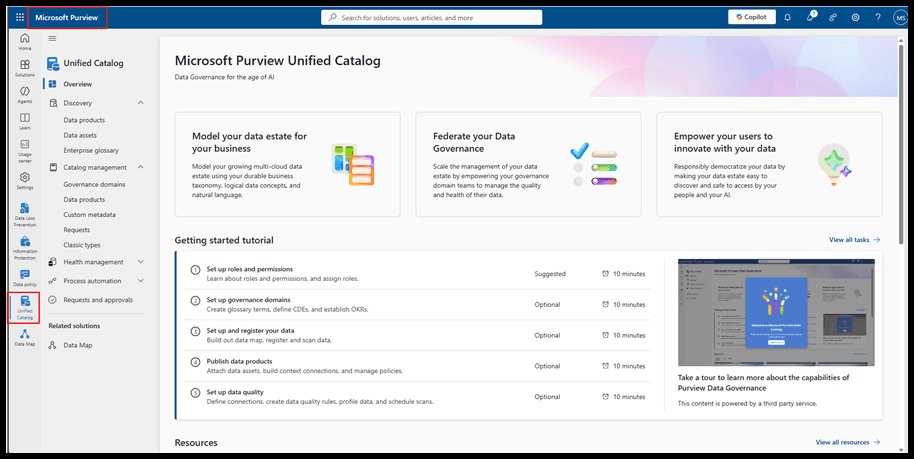
This is where Microsoft Purview Data Map and Unified Catalog can make the process much easier. Instead of depending on manual checks, Microsoft Purview helps you build a clear view of your data estate by scanning data sources, capturing metadata, and making those assets easier to find and understand.
With Data Map, you can connect to supported data sources and scan them to collect technical metadata such as file names, schemas, columns, and classifications. This gives security and governance teams a better starting point than opening files one by one.
Once the data is scanned and ingested, Unified Catalog provides a searchable experience where teams can discover data assets, understand what they contain, and use governance metadata such as classifications, glossary terms, and data quality information to make better decisions.
In simple terms, Purview helps turn a messy storage environment into something more visible, searchable, and manageable. You can identify where sensitive data may exist, assign ownership, improve governance, and focus your review efforts on the files and locations that matter most.
Benefits of Microsoft Purview Data Map
The biggest benefit of Microsoft Purview Data Map is visibility. It helps you move from guessing what is inside your storage account to knowing what data assets exist, where they are located, and what metadata is available for them.
Better data discovery: Data Map scans supported sources and captures metadata, so teams can find data assets faster without manually checking every file or folder.
Improved classification: Built-in scanning and classification help identify sensitive or important data, making it easier to focus on areas that need protection.
Centralized metadata: Technical, business, operational, and semantic metadata can be stored in one place, giving teams a more complete understanding of the data estate.
Always-updated inventory: Scans can be scheduled so the Data Map stays current as new files and assets are added over time.
Stronger governance: By adding ownership, glossary terms, descriptions, and relationships, organizations can make data easier to manage, trust, and use responsibly.
So instead of treating Azure Cloud Storage like a black box, Data Map gives you a structured and searchable foundation. It helps security, compliance, and data governance teams understand the data landscape and act with more confidence.
Steps to Register and Scan Data from Azure Blob Storage
Prerequisites:
An Azure Account with Active Subscription
Entra ID Tenant. Your users and services rely on this for authentication and RBAC.
You will need to be a Data Source Admin and Data reader to register a source and manage it in the Purview.
Configure the authentication method in the azure blob storage to have access to scan. The below options are supported:
Managed Identity (Recommended) – As soon as the Purview account is created, a system identity is created automatically in Azure AD tenant. Depending on the type of resource, Specific RBAC Role assignments are required for the Azure purview MSI to perform the scans.
Account Key
Service principal
Step 1: Enterprise Purview Account is Required to get Started with Data Map.
Navigate to Purview Portal Settings > Account > Upgrade Account
Link Azure Subscription and Resource Group
After Linking Purview Account is Automatically Created in the Azure portal
Step 1: Navigate to Microsoft Purview Data Map Solution Then Navigate to Domains then Create a New Collection.
Domain:
A Domain is the highest level of organization in the Purview Data Map. It represents a major business unit, subsidiary, or environment and provides logical isolation for governance resources.
Collection
A Collection is a child of a Domain and is used to organize data sources, scans, and assets. Collections mainly provide operational organization and access control.
Step 2: Complete the Details for the Collection and Define the Collection Admin.
A Collection Admin is a user who manages a specific collection in Microsoft Purview by administering its data sources, scans, assets, and access permissions within that collection.
Step 3: Navigate to Data Source and Click on Register.s
Step 4: Select Azure Blob Storage from the Available Data Sources to Register then click on continue.
Step 5: Provide the Name for the Data Source and Map the Blob Storage you want to register from the Azure subscription then Map Under the Domain and Collection.
Once your Register the Data Source it will Appears under your Collection.
To establish secure authentication between the Azure Storage Account and Microsoft Purview Data Map, a credential must be configured. Microsoft Purview supports the following credential methods for Azure Blob Storage scanning:
1. Managed Identity (System-Assigned or User-Assigned)
Managed Identity enables Microsoft Purview to authenticate to Azure Blob Storage using Microsoft Entra ID without storing secrets or credentials. Access is controlled through Azure RBAC by assigning the required roles to the managed identity.
2. Account Key
Account Key authentication allows Microsoft Purview to connect to Azure Blob Storage using the storage account access key. The key is securely stored as a credential in Purview and used during scan execution
3. Service Principal
It enables Microsoft Purview to authenticate to Azure Blob Storage using a Microsoft Entra ID application. Authentication is performed using the Tenant ID, Application (Client) ID, and Client Secret, while access is controlled through Azure RBAC by assigning the required roles to the Service Principal.
Environment
Integration Runtime
Supported Credentials
No firewall or private endpoints
Azure Integration Runtime
Managed Identity (Recommended), Service Principal, Account Key
Firewall enabled (No Private Endpoint)
Azure Integration Runtime
Managed Identity
Private Endpoint enabled
Self-Hosted Integration Runtime
Service Principal, Account Key
Choose the authentication method based on your network environment. In this blog, we will use Managed Identity as the preferred authentication method.
Step 1: To Establish Connection Between Blob Storage and Purview Account Navigate to your storage account then Navigate to Access Control.
Step 2: Click on Add then Add Role Assignment Then Select Storage Blob Data Reader role.
Step 3: On the Members tab Select Managed Identify then assign to your Azure Purview Account Then Save.
Step 4: To validate the Authentication and Role access Navigate to your Data Source Page then click on new Scan.
Step 5: To validate the Authentication, Click on the Test Connection and Confirm the Same.
After the registration and authentication are successfully configured, we can begin scanning and classifying the data stored in Azure Blob Storage.
Step 1: Setup the Scan Configuration page name Your Scan then Configure the Managed Identify Credential for the Scan.
Step 2: Configure the Level of Scanning based on your Requirement then click on Continue.
Step 3: Scope the Container which you want to scan and Classify the Data.
A Scan Rule Set specifies how Microsoft Purview scans your data source. It controls the file types to be scanned, the classification system rules to apply, and other scan settings to optimize the discovery of sensitive information.
Step 4: Select the Scan Set for you Scan based on your Required In this Blob I am continue with the Default Microsoft Scan Set for Azure Blob Storage.
Step 5: Configure the Recurrence of the scanning whether it is onetime or Recurring.
Step 6: Review the Scan and Click on Save and Run.
Monitoring of Scan
Monitor the Scanning from the Monitoring Section from the Data Map Solution.
Once the Scanning gets Completed Navigate to Unified CatLog Solution to View the Result.
Navigate to Data Assets and Click on Collection
Select the Collection we Scanned and for Results.
(Data Stored inside the Blob Storage Container for Blob Readers Visiblity)
Explore the File Scanned by the Data Map.
Click any of the asset to view full details about the data.
Wrapping Up
In this guide, we covered the complete process of configuring Azure Blob Storage scanning in Microsoft Purview Data Map—from creating the credential and registering the data source to configuring the scan rule set and executing the scan. Following these steps enables Microsoft Purview to automatically discover and classify data stored in your Azure Blob Storage environment.
Beyond Azure Blob Storage
Microsoft Purview Data Map supports scanning a wide range of data sources across Azure, AWS, on-premises, and multi-cloud environments. The same onboarding process demonstrated in this guide can be applied to other supported data sources with only minor configuration changes.
You can similarly configure scans for:
Azure Data Lake Storage Gen2 (ADLS Gen2)
Azure SQL Database and Azure SQL Managed Instance
Amazon S3
Amazon RDS
Azure Cosmos DB
SQL Server (On premises)
Oracle Database
SAP, Snowflake, and many other supported data sources
Each data source follows a similar workflow:
Register the data source.
Configure the appropriate authentication method.
Create a Scan Rule Set.
Run the scan and review the discovered assets in Microsoft Purview.
As you expand your Microsoft Purview deployment, you can onboard additional data sources to build a unified Data Map, enabling centralized data discovery, classification, governance, and compliance across your entire data estate
Have you ever stopped to think about what is sitting inside your Azure Cloud Storage?
In many organizations, cloud storage quietly fills up with reports, logs, exports, backups, and all kinds of files. Some of those files may contain PII, confidential records, or other sensitive information.
Now imagine trying to open and review thousands—or even 1 lakh files—just to find out which ones contain sensitive data. That is not just time-consuming; it is almost impossible to do reliably. This is where a smarter way to discover and protect sensitive data becomes important.
The Problem with Checking Files Manually
Cloud storage grows faster than most teams realize. Every day, people upload documents, logs, images, backups, and application files. Before long, the storage account becomes a huge collection of data that keeps changing.
If you only have a handful of files, manual review might be fine. But when there are thousands of files, it quickly becomes slow, inconsistent, and easy to get wrong. One missed file with personal information, financial data, credentials, or confidential business records can create a real security or compliance risk.
That is why automated sensitive data discovery matters. Instead of checking each file one by one, security teams can use cloud security tools to scan storage accounts, detect sensitive information, and focus first on the areas that need attention.
The Solution: Microsoft Purview Data Map and Unified Catalog
This is where Microsoft Purview Data Map and Unified Catalog can make the process much easier. Instead of depending on manual checks, Microsoft Purview helps you build a clear view of your data estate by scanning data sources, capturing metadata, and making those assets easier to find and understand.
With Data Map, you can connect to supported data sources and scan them to collect technical metadata such as file names, schemas, columns, and classifications. This gives security and governance teams a better starting point than opening files one by one.
Once the data is scanned and ingested, Unified Catalog provides a searchable experience where teams can discover data assets, understand what they contain, and use governance metadata such as classifications, glossary terms, and data quality information to make better decisions.
In simple terms, Purview helps turn a messy storage environment into something more visible, searchable, and manageable. You can identify where sensitive data may exist, assign ownership, improve governance, and focus your review efforts on the files and locations that matter most.
Benefits of Microsoft Purview Data Map
The biggest benefit of Microsoft Purview Data Map is visibility. It helps you move from guessing what is inside your storage account to knowing what data assets exist, where they are located, and what metadata is available for them.
Better data discovery: Data Map scans supported sources and captures metadata, so teams can find data assets faster without manually checking every file or folder.
Improved classification: Built-in scanning and classification help identify sensitive or important data, making it easier to focus on areas that need protection.
Centralized metadata: Technical, business, operational, and semantic metadata can be stored in one place, giving teams a more complete understanding of the data estate.
Always-updated inventory: Scans can be scheduled so the Data Map stays current as new files and assets are added over time.
Stronger governance: By adding ownership, glossary terms, descriptions, and relationships, organizations can make data easier to manage, trust, and use responsibly.
So instead of treating Azure Cloud Storage like a black box, Data Map gives you a structured and searchable foundation. It helps security, compliance, and data governance teams understand the data landscape and act with more confidence.
Steps to Register and Scan Data from Azure Blob Storage
Prerequisites:
An Azure Account with Active Subscription
Entra ID Tenant. Your users and services rely on this for authentication and RBAC.
You will need to be a Data Source Admin and Data reader to register a source and manage it in the Purview.
Configure the authentication method in the azure blob storage to have access to scan. The below options are supported:
Managed Identity (Recommended) – As soon as the Purview account is created, a system identity is created automatically in Azure AD tenant. Depending on the type of resource, Specific RBAC Role assignments are required for the Azure purview MSI to perform the scans.
Account Key
Service principal
Step 1: Enterprise Purview Account is Required to get Started with Data Map.
Navigate to Purview Portal Settings > Account > Upgrade Account
Link Azure Subscription and Resource Group
After Linking Purview Account is Automatically Created in the Azure portal
Step 1: Navigate to Microsoft Purview Data Map Solution Then Navigate to Domains then Create a New Collection.
Domain:
A Domain is the highest level of organization in the Purview Data Map. It represents a major business unit, subsidiary, or environment and provides logical isolation for governance resources.
Collection
A Collection is a child of a Domain and is used to organize data sources, scans, and assets. Collections mainly provide operational organization and access control.
Step 2: Complete the Details for the Collection and Define the Collection Admin.
A Collection Admin is a user who manages a specific collection in Microsoft Purview by administering its data sources, scans, assets, and access permissions within that collection.
Step 3: Navigate to Data Source and Click on Register.s
Step 4: Select Azure Blob Storage from the Available Data Sources to Register then click on continue.
Step 5: Provide the Name for the Data Source and Map the Blob Storage you want to register from the Azure subscription then Map Under the Domain and Collection.
Once your Register the Data Source it will Appears under your Collection.
To establish secure authentication between the Azure Storage Account and Microsoft Purview Data Map, a credential must be configured. Microsoft Purview supports the following credential methods for Azure Blob Storage scanning:
1. Managed Identity (System-Assigned or User-Assigned)
Managed Identity enables Microsoft Purview to authenticate to Azure Blob Storage using Microsoft Entra ID without storing secrets or credentials. Access is controlled through Azure RBAC by assigning the required roles to the managed identity.
2. Account Key
Account Key authentication allows Microsoft Purview to connect to Azure Blob Storage using the storage account access key. The key is securely stored as a credential in Purview and used during scan execution
3. Service Principal
It enables Microsoft Purview to authenticate to Azure Blob Storage using a Microsoft Entra ID application. Authentication is performed using the Tenant ID, Application (Client) ID, and Client Secret, while access is controlled through Azure RBAC by assigning the required roles to the Service Principal.
Environment
Integration Runtime
Supported Credentials
No firewall or private endpoints
Azure Integration Runtime
Managed Identity (Recommended), Service Principal, Account Key
Firewall enabled (No Private Endpoint)
Azure Integration Runtime
Managed Identity
Private Endpoint enabled
Self-Hosted Integration Runtime
Service Principal, Account Key
Choose the authentication method based on your network environment. In this blog, we will use Managed Identity as the preferred authentication method.
Step 1: To Establish Connection Between Blob Storage and Purview Account Navigate to your storage account then Navigate to Access Control.
Step 2: Click on Add then Add Role Assignment Then Select Storage Blob Data Reader role.
Step 3: On the Members tab Select Managed Identify then assign to your Azure Purview Account Then Save.
Step 4: To validate the Authentication and Role access Navigate to your Data Source Page then click on new Scan.
Step 5: To validate the Authentication, Click on the Test Connection and Confirm the Same.
After the registration and authentication are successfully configured, we can begin scanning and classifying the data stored in Azure Blob Storage.
Step 1: Setup the Scan Configuration page name Your Scan then Configure the Managed Identify Credential for the Scan.
Step 2: Configure the Level of Scanning based on your Requirement then click on Continue.
Step 3: Scope the Container which you want to scan and Classify the Data.
A Scan Rule Set specifies how Microsoft Purview scans your data source. It controls the file types to be scanned, the classification system rules to apply, and other scan settings to optimize the discovery of sensitive information.
Step 4: Select the Scan Set for you Scan based on your Required In this Blob I am continue with the Default Microsoft Scan Set for Azure Blob Storage.
Step 5: Configure the Recurrence of the scanning whether it is onetime or Recurring.
Step 6: Review the Scan and Click on Save and Run.
Monitoring of Scan
Monitor the Scanning from the Monitoring Section from the Data Map Solution.
Once the Scanning gets Completed Navigate to Unified CatLog Solution to View the Result.
Navigate to Data Assets and Click on Collection
Select the Collection we Scanned and for Results.
(Data Stored inside the Blob Storage Container for Blob Readers Visiblity)
Explore the File Scanned by the Data Map.
Click any of the asset to view full details about the data.
Wrapping Up
In this guide, we covered the complete process of configuring Azure Blob Storage scanning in Microsoft Purview Data Map—from creating the credential and registering the data source to configuring the scan rule set and executing the scan. Following these steps enables Microsoft Purview to automatically discover and classify data stored in your Azure Blob Storage environment.
Beyond Azure Blob Storage
Microsoft Purview Data Map supports scanning a wide range of data sources across Azure, AWS, on-premises, and multi-cloud environments. The same onboarding process demonstrated in this guide can be applied to other supported data sources with only minor configuration changes.
You can similarly configure scans for:
Azure Data Lake Storage Gen2 (ADLS Gen2)
Azure SQL Database and Azure SQL Managed Instance
Amazon S3
Amazon RDS
Azure Cosmos DB
SQL Server (On premises)
Oracle Database
SAP, Snowflake, and many other supported data sources
Each data source follows a similar workflow:
Register the data source.
Configure the appropriate authentication method.
Create a Scan Rule Set.
Run the scan and review the discovered assets in Microsoft Purview.
As you expand your Microsoft Purview deployment, you can onboard additional data sources to build a unified Data Map, enabling centralized data discovery, classification, governance, and compliance across your entire data estate